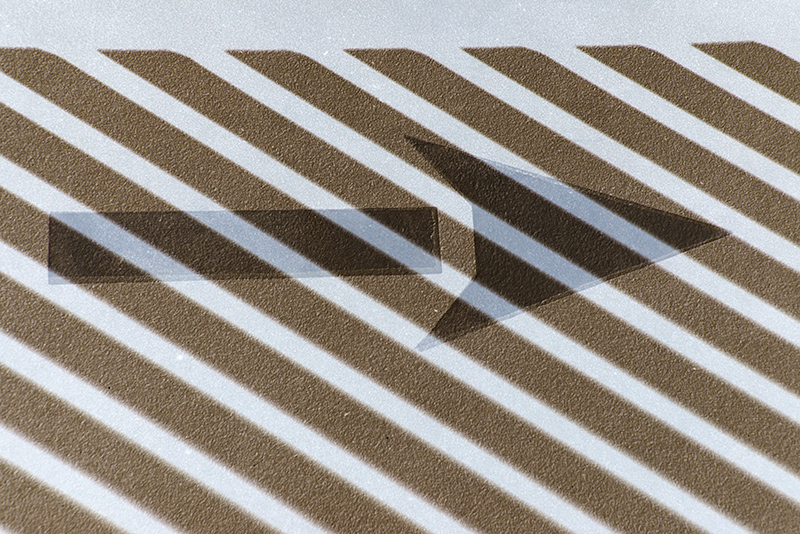
Wandering the pedestrian walk on new San Francisco Bay Bridge span in the waning days of the year, I shot this directional arrow, intended to guide foot and bike traffic, straight down and broken up by strong shadows from the railing.
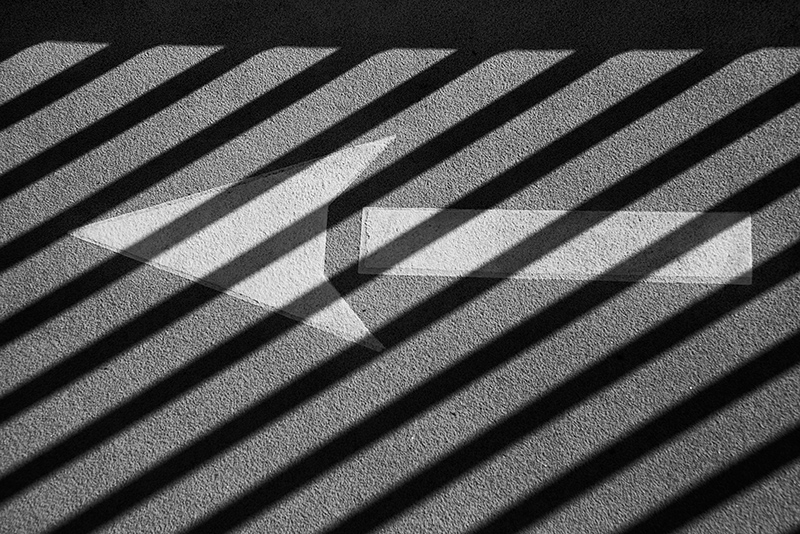
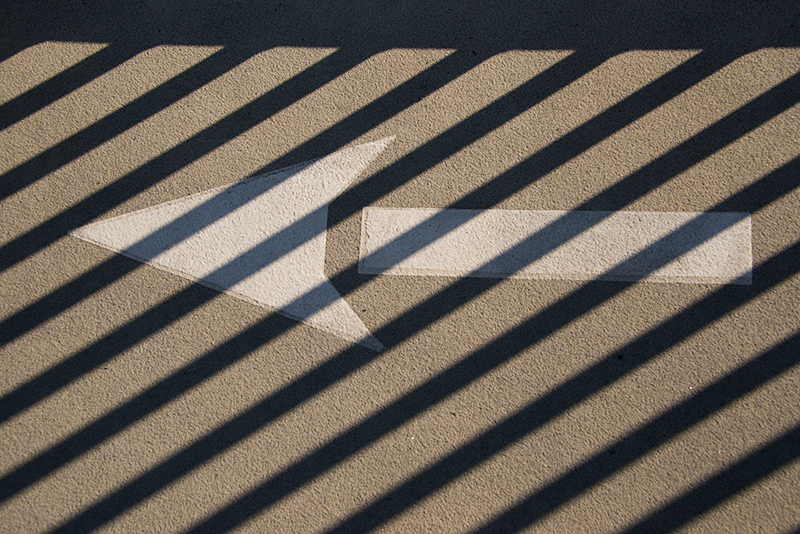
Before I converted Broken Arrow to black and white, of course, it was color (shown below). (The monochrome version is still an RGB color file technically speaking—but that’s another story!)
It’s astoundingly easy to use Photoshop adjustments in LAB color and blending modes to create intricate patterns out of something like the color version of Broken Arrow. Here’s one example:
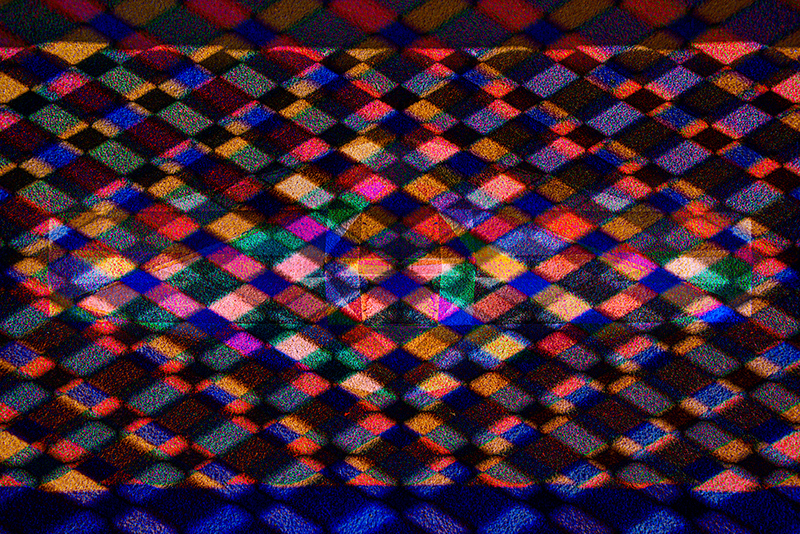
To get to the pattern from the color photo, in Photoshop I duplicated the image, and converted the duplicate to LAB color mode. I next used Image > Adjust > Invert to invert the LAB color values within the file, and then converted the entire image back to RGB, with results shown below:
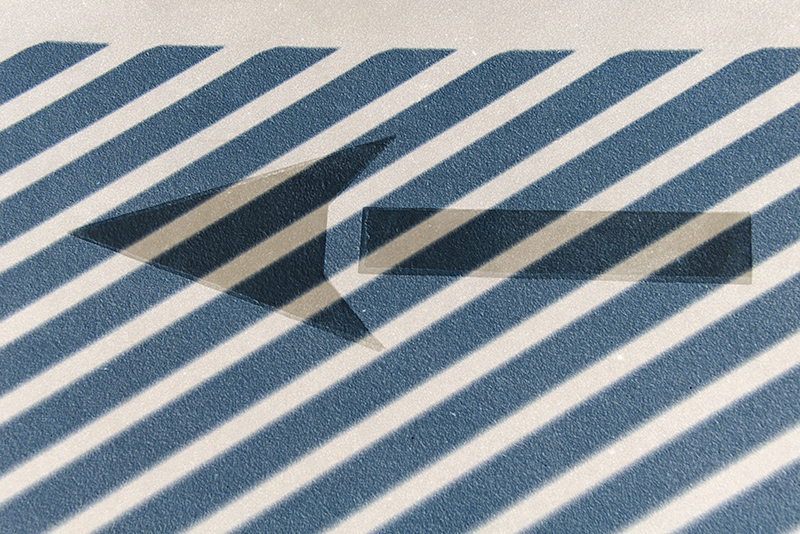
Next, I made another duplicate of the original image file, converted it to LAB, selected the L channel only, and inverted the L channel. I flipped the image horizontally, with results shown below:
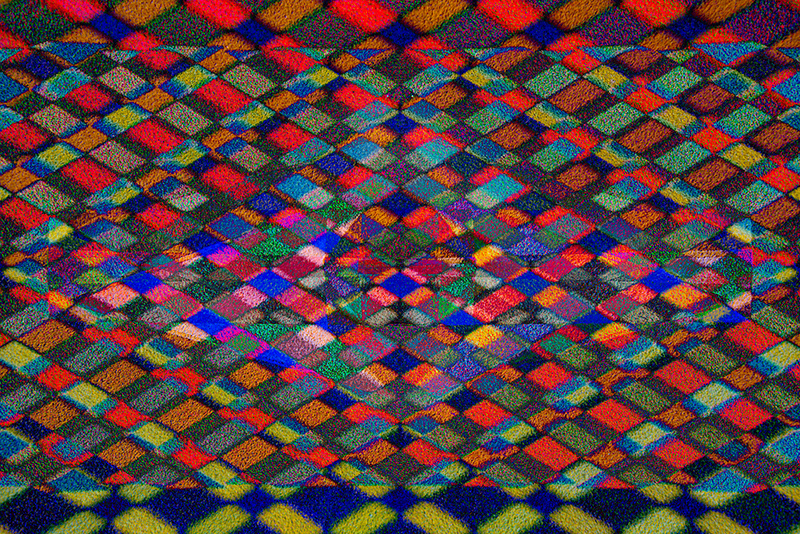
The last big step is to align the two LAB inversions as layers in one image, and set the Blending Mode to Difference (by the way, they have to be back in RGB, or the Difference mode isn’t available).
There are many possible variations on this technique of course, depending on what channels you invert, how you flip the image, and what blending modes you use. Here’s another variation from the same original image:
To learn more about the LAB color techniques for creative image making I have pioneered, check out The Way of the Digital Photographer (pages 156-163) and The Photoshop Darkroom (pages 148-201). If this really intrigues you, you may want to consider my Mastering Creative Photoshop workshop (January 25-26, one last minute spot available, more space in the second session, May 31 – June 1, 2014).
Pingback: Mandalas from a Crystal Bowl
Pingback: Rose after Delauney and O’Keeffe
Pingback: New span of the Bay Bridge