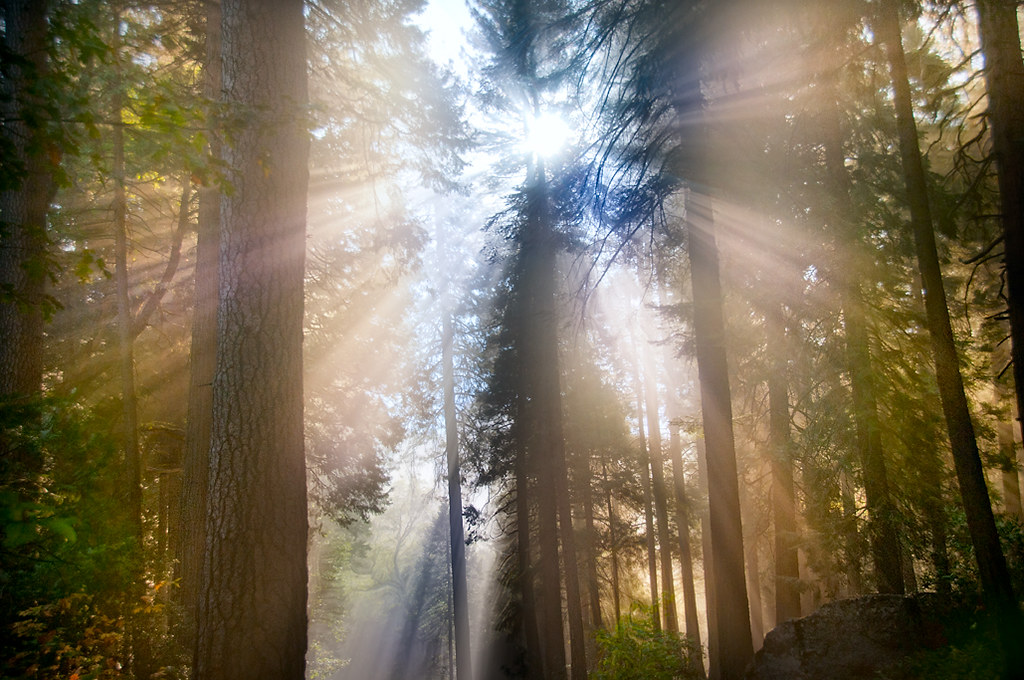
At a glance in Adobe Bridge, the RAW file showing crepuscular rays of sunshine on the forest floor seemed underexposed, lifeless and gray. This was not entirely surprising, as I had intentionally underexposed the image to capture the beams of sunlight.
Exposing for the rays of light meant letting the forest floor go dark, so it wasn’t unexpected that the default RAW conversion should look so unappetizing.
The potentialities hidden within a single RAW file can be amazing.
Unlocking the possibilities with this image wasn’t hard. I RAW-processed the image three times, layering the lighter multi-RAW versions on top of the dark original version in Photoshop—with the results you see here.
The image is a good illustration of why every photographer should learn the basics of RAW processing, and how to use multi-RAW processing, Photoshop, layers, and masking to tease the inner meaning from their images.
Part of the trick, of course, is knowing that you can multi-RAW process your photos to extend their dynamic range—and to shoot with this in mind.
Exposure data: 32mm, 1/500 of a second at f/5 and ISO 100, hand held.
Pingback: Multi-Raw Processing Fort Point and the Golden Gate Bridge