Much of the time we photographers are concerned with sharpness—how to make a photo that is “tack sharp,” how to manage depth-of-field (or even how to focus stack), how to get the best out of autofocus, and relearning the lost craft of manually focusing.

I’m here to tell you that intentionally creating an image with blur, one that is not in focus, or is focused on the “wrong” place, or in which the duration the shutter is open does not stop motion, can be a great expression of the craft and art of photography.
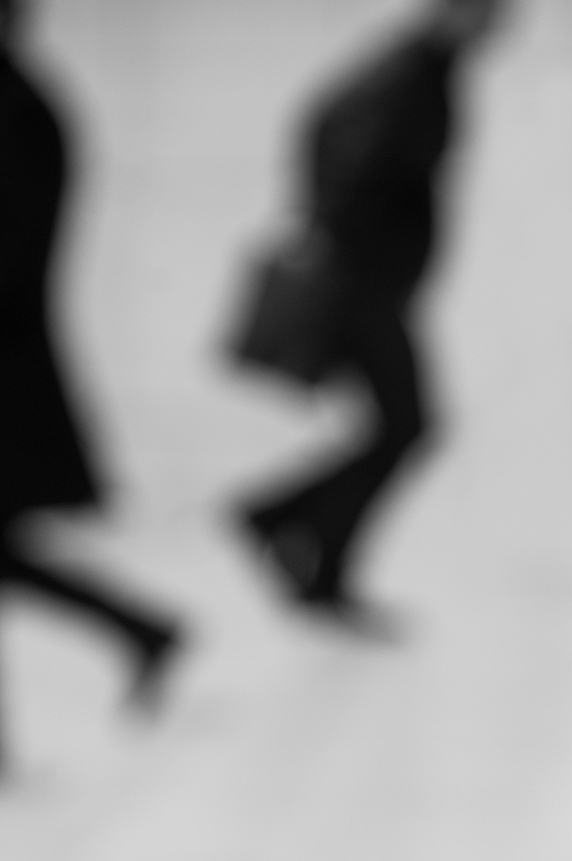
In Silhouettes (shown above) the blur was created by focusing extremely close in the foreground (with a telephoto lens) rather than on the figures that make up the composition.
So this is a focus blur, rather than a motion blur (the image was photographed at La Defense in Paris at 180mm, 1/500 of a second, f/6.3, and ISO 200). In point of fact, this image is about the semi-abstracted figures and the pattern of their relationship with each other. This negative-space pattern is only created because the figures themselves are blurred.
By the way, using a slow shutter speed to blur motion, or throwing a lens out of focus are far from the only way to produce a blurring effect, which is also sometimes called a “soft focus” effect. A classical approach to creating the soft focus look is to put something in front of the lens, such as a nylon stocking or a filter coated with Vaseline. Raindrops on a lens also work to blur the outlines and contours of the subject you are photographing.
Obviously, it is also possible to add various kinds of blur in post-production, although somehow I never get quite the same blurring look as when I generate my blurs in the camera.
So next time you get out there photographing, and if perhaps a sharply-focused image isn’t working, consider playing and experimenting with blur: motion blur, focus blur, shoving something in front of the lens blur. Long live blur!
You can get more of the context of my blurred Silhouette image in a related story: Stairs at La Defense.