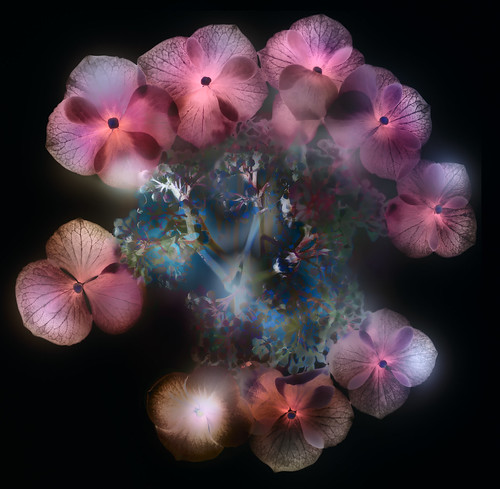
Crown of Hydrangea, photo by Harold Davis. View this image larger.
Several years ago I planted a couple of exotic hydrangea plants in the shade in my front garden. (I know that “exotic hydrangea” sounds like an oxymoron, but believe me, these two are pretty wild.)
To make this image, I clipped off a crown of hydrangea from one of these plants, actually consisting of a calyx of the mature hydrangea flower with the large sepals (florets) shown here arranged around the cirumference of the construction.
I first put the hydrangea crown on my Epson 1660 flatbed scanner, and pulled some high resolution scans into Photoshop. In the scan that worked best I was “painting” with a moving LED light as the scanner did its thing. The scanner lid was open. I had to be careful to keep the light on the flowers. This took a few tries. When I got it right, the background mostly went black.
The Epson 1660 is a fairly inexpensive scanner, but it is amazing what high resolution one can get using it or comparable equipment. However, the result has no depth. If I could only get a lens with a diaphragm between that flatbed scan and the subject…I’d have, well, a camera. One with a really big sensor.
Next, I photographed the hydrangea from straight on top of a white light source, overexposing for transparency. (White Anemone is a good example of this technique.)
To create the composite image of the hydrangea, I combined the scan and the photo by positioning the photo on top of the scan. (I’ve used a similar technique before, a good example is Nautilus on Black.) Sizing the top image so it laid precisely on top of the scan was a bit time consumptive, and essentially an issue of trial and error.
I then used layer masking to reveal (and hide) portions of the top image. Next, I duplicated the scan, put it on top of the assembled image, and layer masked once again to appropriately reveal and hide.
After all, isn’t that what photography is all about: strategic revelation and hiding?
Pingback: Ruffles Have Ridges | Photoblog 2.0