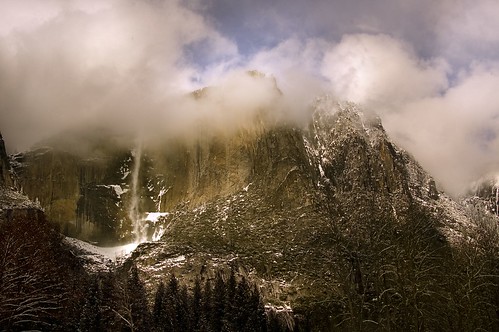
I captured this photograph in early spring in Yosemite Valley and archived it. It was one of those situations when the light looked glorious when I took the photo in the late afternoon from the so-called Swinging Bridge, but the capture was disappointing on my first review. (I say “so-called” because, as Julian pointed out to me with sorrow, this bridge seems pretty fixed in place, and does not really swing.)
I use Adobe Bridge for my initial screening of images, and I capture both a RAW and a JPEG version of each image. Often, the JPEG gives me a better idea of what I’ve got than the RAW version before it has been processed. The capture itself of this image in both RAW and JPEG when I viewed it in on my computer was kind of blah. The highlights appeared washed out, and the shadow areas seemed dull.
I salvaged the photo, and created an image that was more like my experience of being there than the pre-processed capture, by using multiple RAW exposures: one for the highlights and clouds, one for the shadows, and one for the mid-tones, such as the cliff. I combined these different exposures as layers, and I added layer masks set to “Hide All,” filling the layer mask with black. I then used the Paintbrush tool to “paint in” the highlight and shadow areas I wanted with varying degress of opacity (using the middle exposure as my background layer).
This is my 600th post in my photo blog, which started life modestly as a support to my Digital Field Guide, but has taken on a life of its own. If you are new to my blog, you might want to take a look at the Photoshop Techniques, San Francisco, Yosemite, and Water Drops categories.
